BUILD YOUR OWN IJK JOYSTICK INTERFACE
Tutorial from Kenneth.
Thanks to SILICEBIT for the interface diagram.
Thanks to SILICEBIT for the interface diagram.
HEADNOTE
You have an Oric, a compatible game with the joystick, but unfortunately, a PASE interface, but which has the (big) disadvantage to produce a crappy sound from your favorite machine that would blow all the windows of the London Shard building..
Indeed, the PASE type PCB is fitted of small diodes that send the signal from the joystick in the Oric through the connector to the printer. The problem is the tone generator who uses the same pathway to work. So, mix of data, distorted music.
The particularity of the IJK interface is that it communicates the state of the joystick to the Oric in a precise instant and with a very short delay.
And there, the dream! Perfect sound, without alteration. But you need to find the magic box. If you can't find it, I propose a small "homemade" mounting
PREPARATION
Firstly, it is important to have the following elements:
-Experience: If you do not use regularly iron soldering it may be a difficult work.
-A good soldering iron with a fine tip: If copper is bare, retire it. The iron should produce AT MOST 20 Watts or you'll destroy the copper tracks of the PCB.
-Have good eyesight
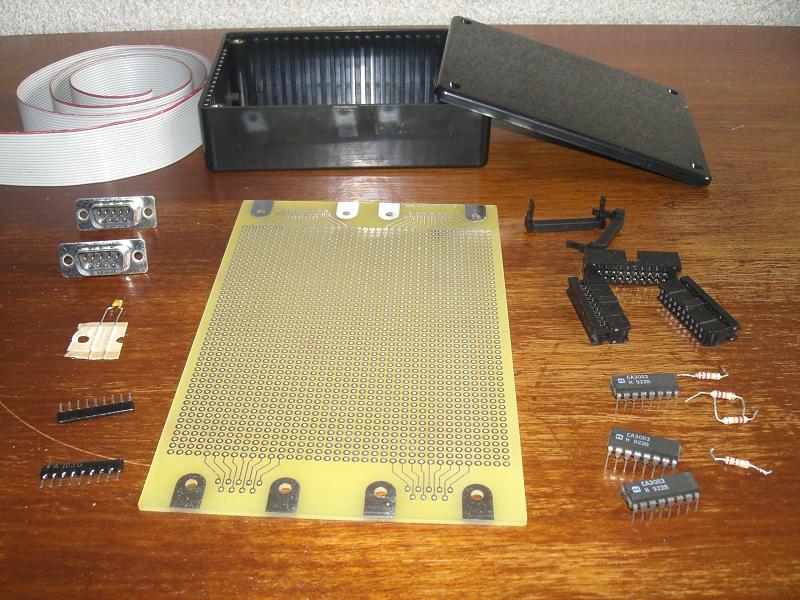
-Components as follow:
Une carte d'expérimentation en époxy simple face et pastilles, avec l' emplacement prévu pour deux connecteurs SUB-D 9 broches.
Deux connecteurs mâles SUB-D 9 broches "droits" à souder.
Une nappe informatique 20 fils au pas de 1,27mm.
Deux connecteurs à sertir sur nappe, de type HE10 mâle, avec 20 bornes.
Trois circuits de type CA3083 (des réseaux de transistors utilisés en radio), plus difficiles à trouver car obsolètes dans la plupart des sites.
Deux réseaux de 8 résistances avec commun de 10 kilo-Ohm.
Quatre résistances de 22Kilo-Ohm 1/4 de watt.
Une diode 4148.
Un condensateur au céramique de 47 nanofarads.
Quatre colonnes en plastique avec tige filetée pour surélever la carte.
Un boitier plastique pour protéger tout ça.
DECOUPE
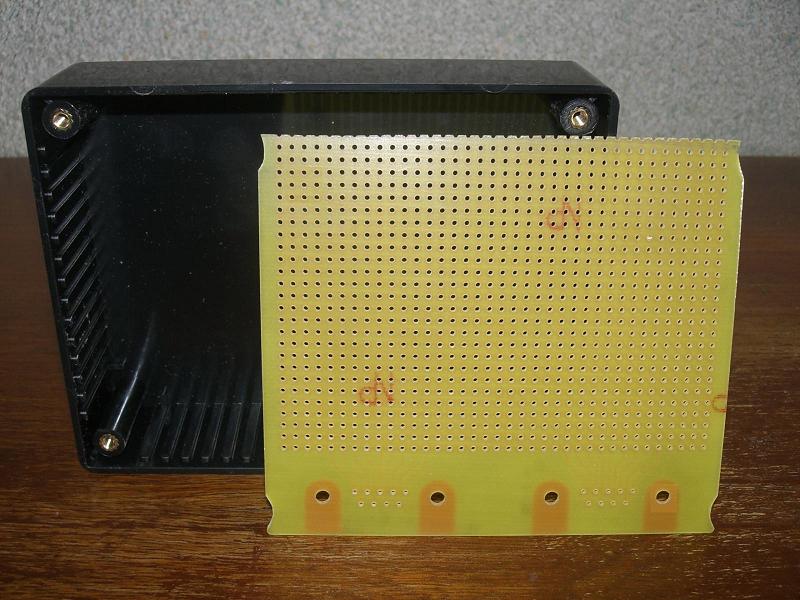
Tout d'abord il faut commencer par découper la plaque en époxy pour la faire entrer pile poil dans le coffret en préservant les empreintes des connecteurs. Notez sur la photo le nombre de points vertical et horizontal de la grille, nécessaire pour implanter les composants.
IMPLANTATION
Ci dessous: La carte en transparence vue de dessus. Pour le perçage des trous, utiliser un foret de 4mm. L' emplacement des trous est symbolisée par les cercles les plus grands.

IMPLANTATION
Ci dessous: La carte en transparence vue de dessus. Pour le perçage des trous, utiliser un foret de 4mm. L' emplacement des trous est symbolisée par les cercles les plus grands.

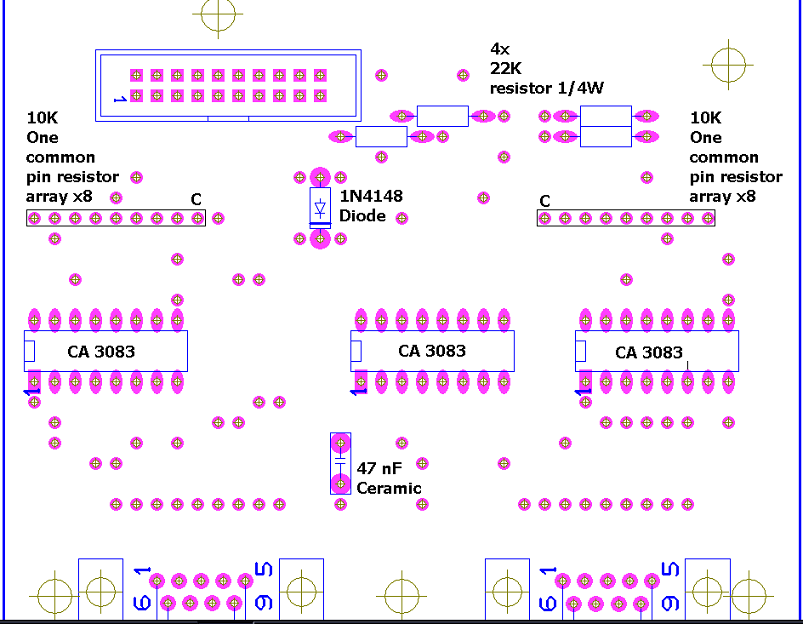
Ci dessous: Le descriptif des composants.

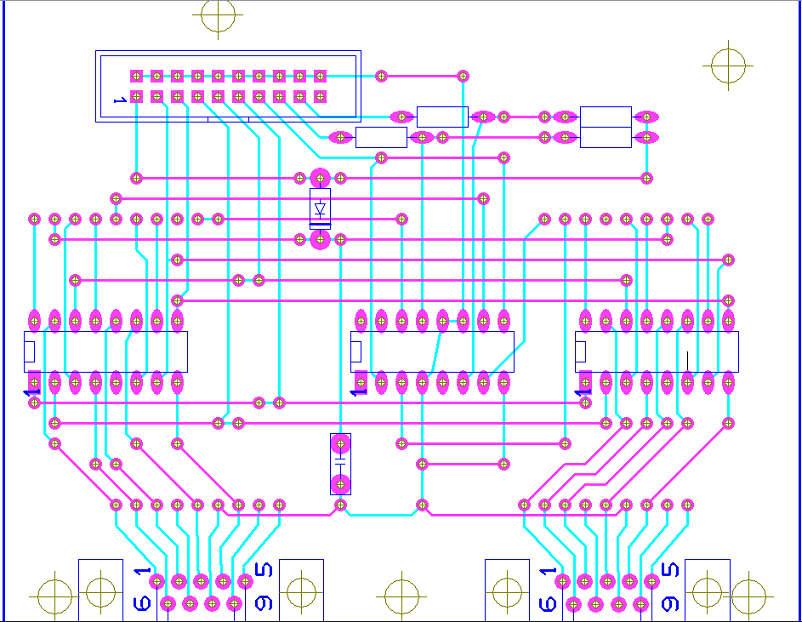
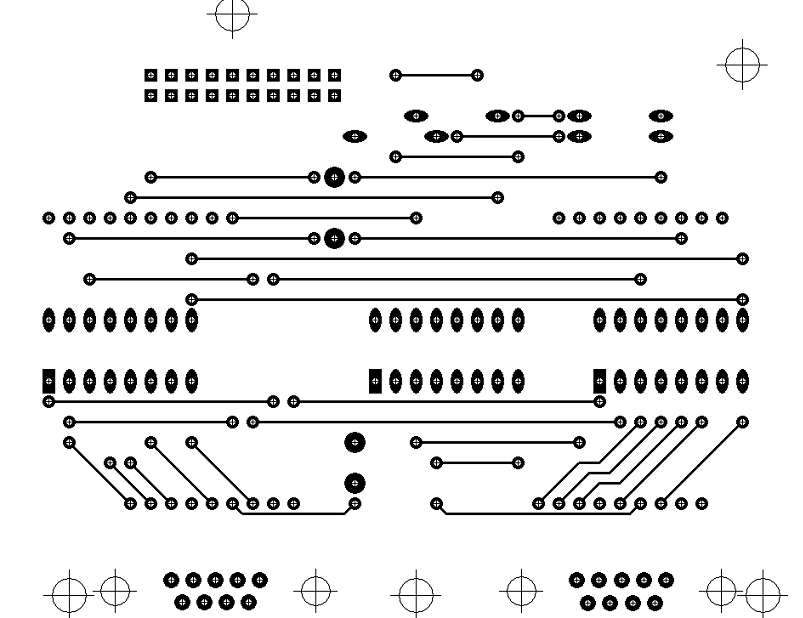
Ci dessous: Les pistes à réaliser coté composant.

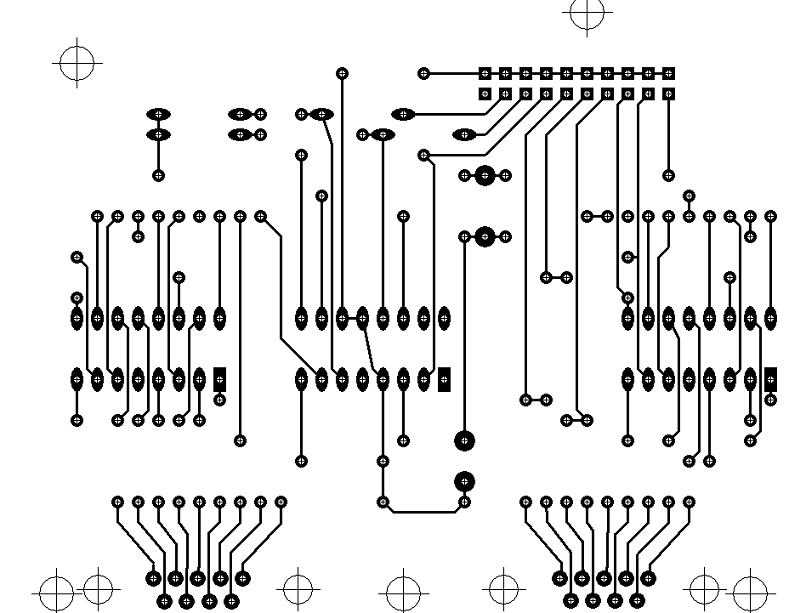
Ci dessous: Les pistes à réaliser coté soudure, vue de dessous.

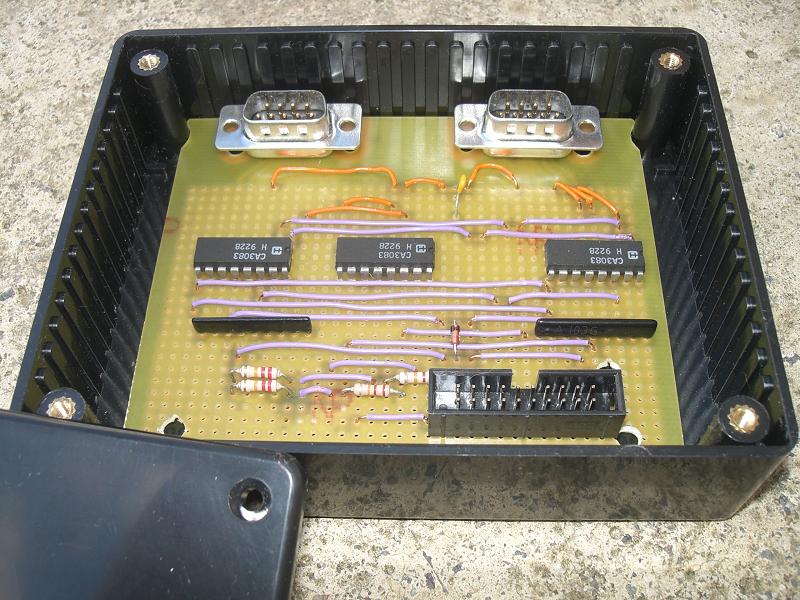
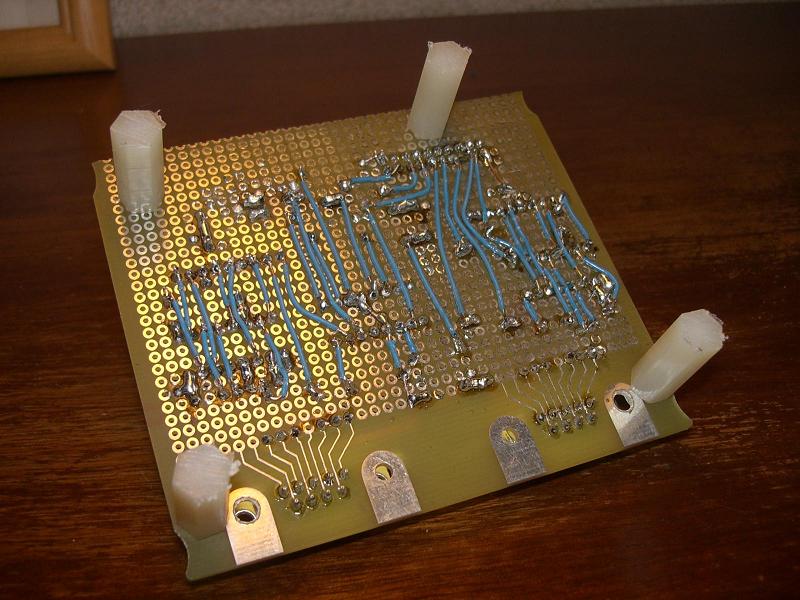
Ci dessous: La pose des composants et des fils (du rigide de téléphone) en cours. Ne faites pas gaffe au trou en bas à droite, je me suis planté d'endroit pour le perçage.
DECOUPE DES SUPPORTS
FIXATION

DECOUPE DES SUPPORTS
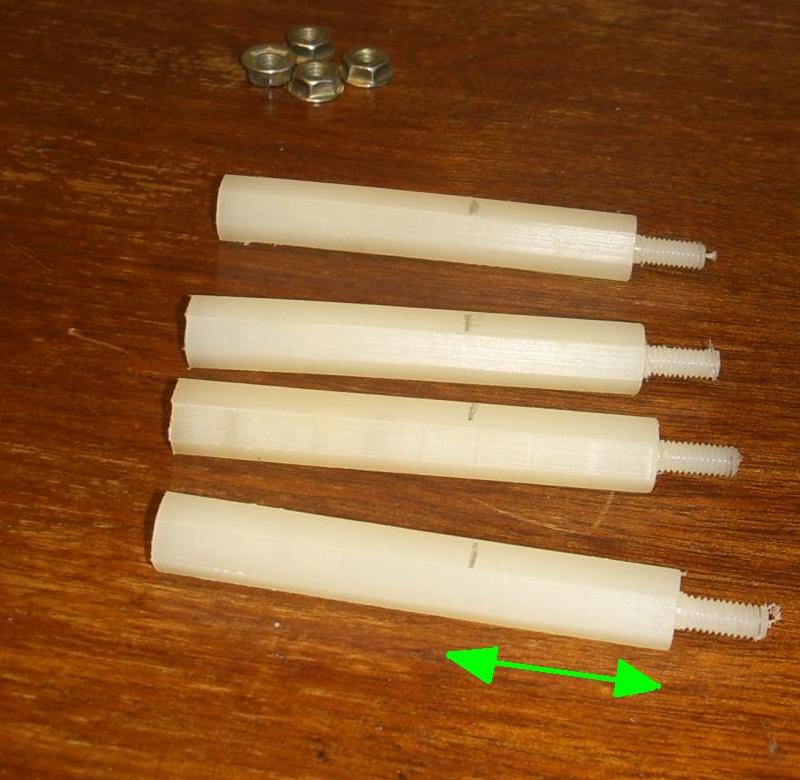
Découper à la scie à métaux les supports à la longueur de 22mm sous la tige filetée comme indiqué.

FIXATION

NAPPE
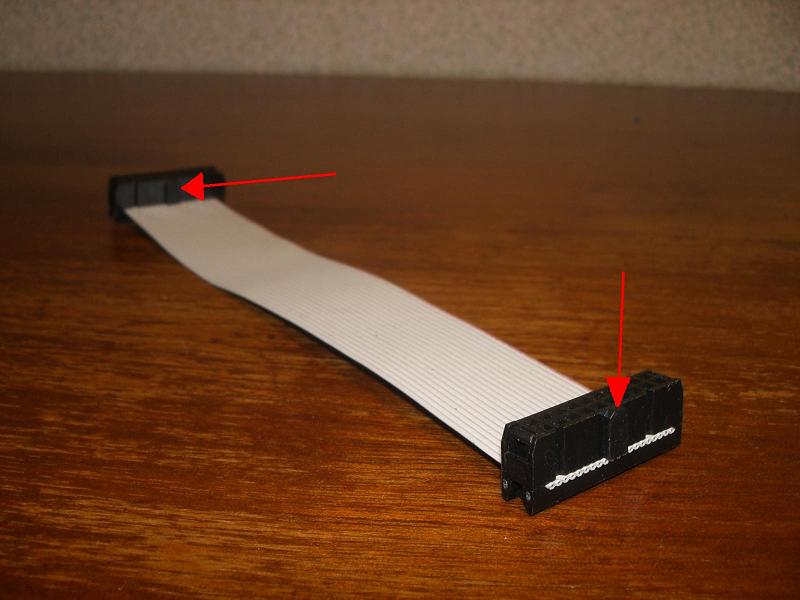
Sertir les connecteurs à l' aide d'un étau ou une pince multiple, on notera l' orientation des ergots détrompeurs.

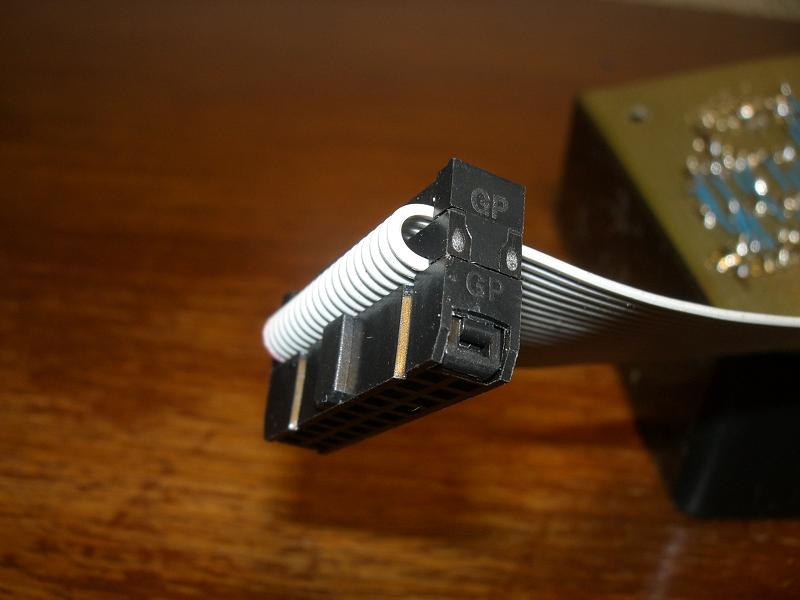
Puis on enroule la nappe pour y placer le pontet par dessus le connecteur.

PERCAGE BOITIER
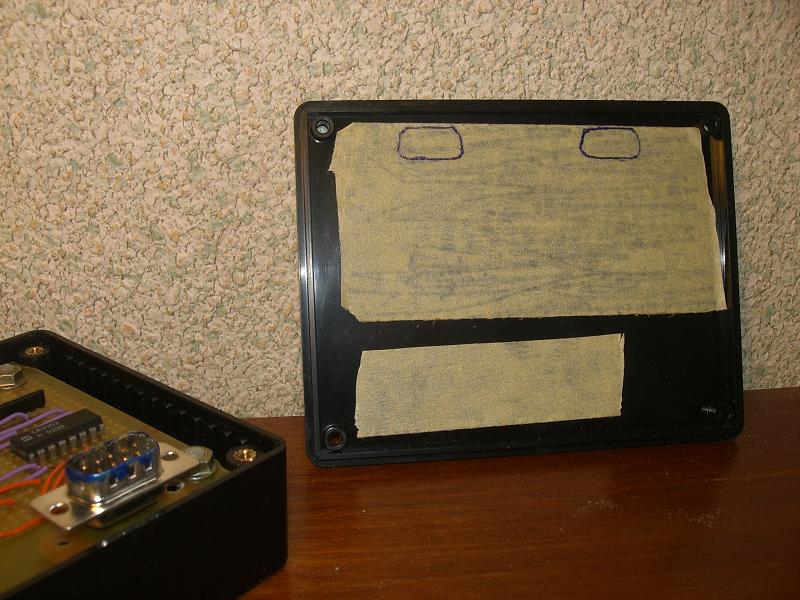
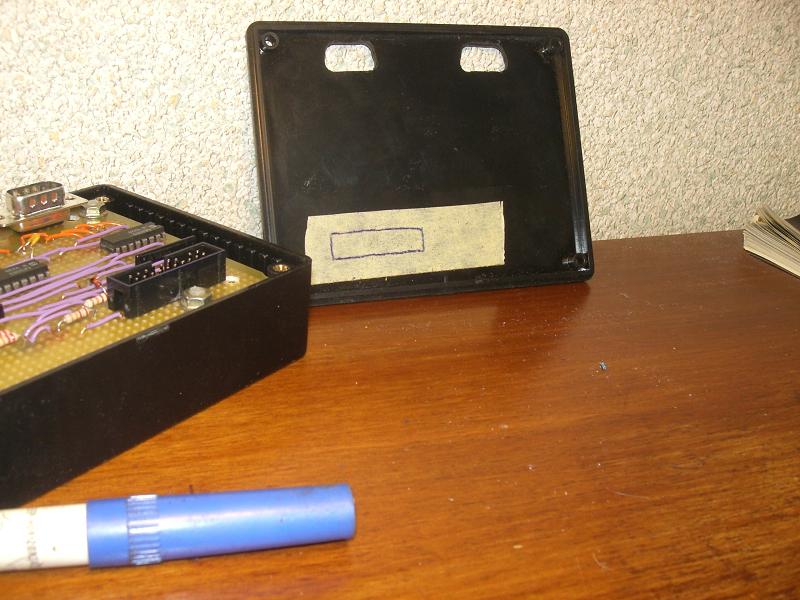
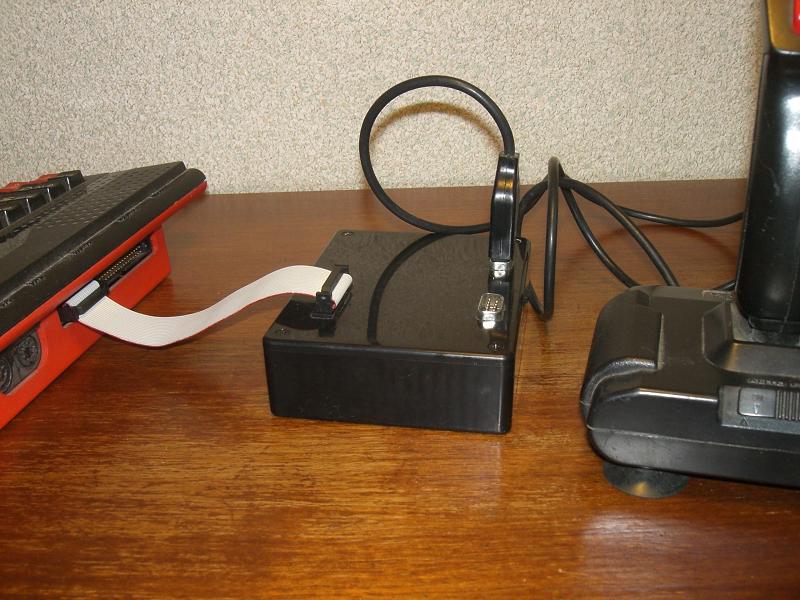
Refermer le boitier, connecter la nappe, et c'est terminé. A vous de jouer !Placer. un morceau de ruban adhésif en papier sur l'envers du couvercle, enduire le bord des connecteurs SUB-D d'encre à l'aide d'un feutre, puis appliquer le couvercle sur la carte préalablement placée dans son boitier. Le tracé obtenu sera renforcé au stylo, puis le couvercle sera percé puis limé afin de faire passer les connecteurs SUB-D à travers.

Faire de même pour le connecteur HE10.
ESSAI

ESSAI

